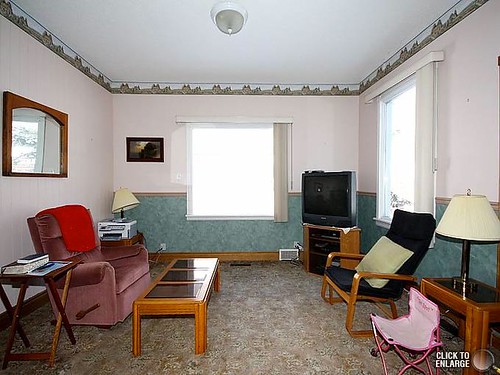
As I've mentioned before, dh and I bough a fixer upper! It was (and is still) in need of some renovations . The family room as come along way since we moved into this house in May. All that is left are curtains and pictures / interior decorating. This room is actually huge - it's difficult to see in the pictures but it's 14 feet x 20 long. All of the windows are different heights and the ceiling are 10 feet tall. Here's what the family room looked like before - dated and in serious need of some tlc.
(here's the NE view of the room)

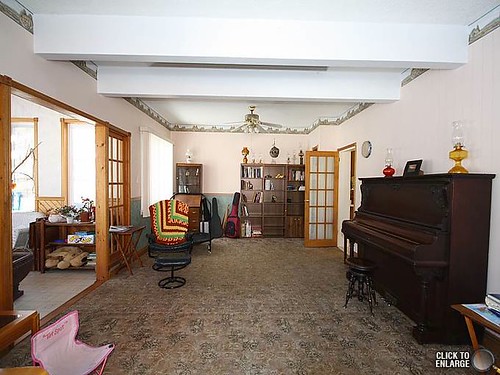
(NE and S views of room - N room is the sunroom)
(NE view of room)
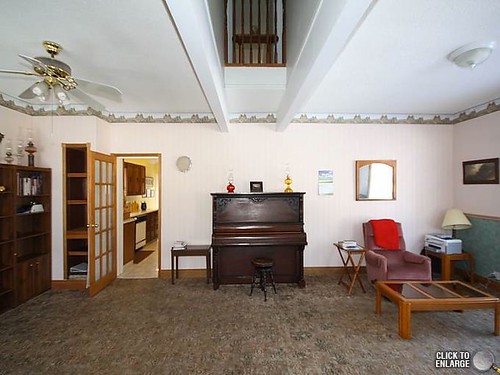
(S view of room)
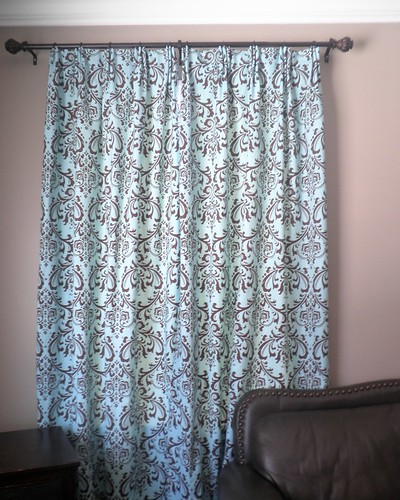
The wood panelling and carpet were the first to go. We then added a small powder room to the left of the door. Hardwood floors were added instead of carpet (as I despise carpet immensely with little kids and dogs) as well as crown moulding and newer baseboards that matched the old baseboards in the rest of the house. The walls were in desperate need of repair and wallpaper chair- rail were removed. The only problem with this room is it's shear size and that all the windows in it are completely different sizes. So I decided to make all the drapes 98'' (based on the tallest window) to give it a little bit of symmetry and uniform look. The drapes are made with home dec outer fabric, double napped interlining and drapery lining on the backside. I attempted to blind hem stitch these with my domestic home sewing machine but was dis-satisfied with the results. The drapery lining was puckering and looked awful from the backside. So I bit the bullet and invested in a portable blind hem machine. I got a Consew 75T blind hemmer off ebay for $214 shipped to my United States address as a Christmas present from my dh. Why I went to this extreme just to make curtains - well truth be told we have over 30 windows in our house and making interlined curtains is a heck of a lot cheaper than buying them. The curtains I made for the windows in the family room alone based on the size of the windows and interlining, I checked on Sears website and they were a whooping $1300 each panel - that $2600 each window or $7800 for all the windows - I assume because I wanted them interlined - mainly to keep the drafts out of this place not that there are many but it is after-all an old house and new windows aren't in the budget right now - although for the cost of the curtains I priced at Sear, I'm sure new windows are cheaper than buying curtains.
Anyways, I'm really pleased with my new blindhemmer machine - it doesn't go over the really thick areas with the double folds of home decor fabric and linterlining and lining altogether, but I knew this when I purchased it as it is a lighter weight machine. I just hand stitched those areas. Eventually, I plan on opening a small home based sewing business to sew home decor and basic alterations so this machine will come in handy - if I get bigger and new a more industrial blindhemmer than I will buy it them but for now this works for me and for the price I couldn't go wrong. There was only one thing I did off the book - and that was I used pennies for my drapery weights instead of buying them - I know they were only $2.00 for 4 at fabricland but I only paid 6 cents per panel and no one know they are there anyways.
So here is one of the 3 windows finished, please also keep in mind that these are my first curtains I've ever made (yes honestly) and I really love how they turned out.) They are triple pinch pleated drapes.

(blind hemmer stitching - Oh doesn't it look so professional)
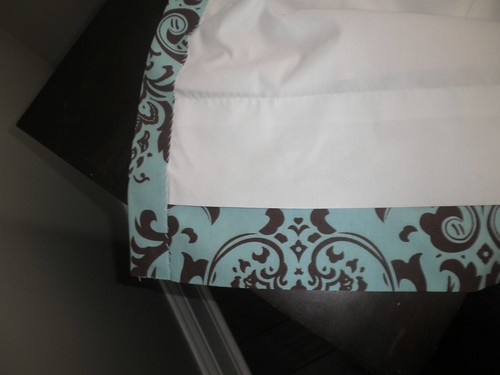
(bottom hem - yes it's only a single fold but I really don't care that it's not double - know one but me will notice)