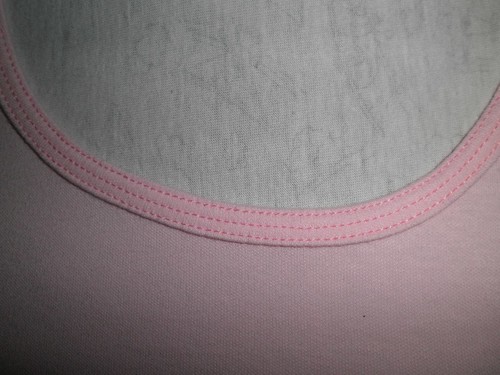
Coverstitching is the two or three rows of stitching at the bottom of hems to knit shirts and pants. It is often seen on the bottom hemline of a t-shirt. Now you may ask why do you need to have a coverstitching machine. Well technically you don't, but it makes life a whole bunch easier when sewing with knits. You can also apply your own pre-cut binding strips in one easy pass through a binder attachment, then sew up the side seam for a quick and easy binding application.
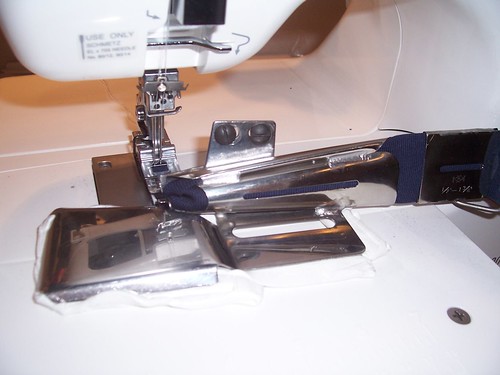
So how do I set it up? (this is for a Janome 1000cpx coverstitching machine but am sure the principals are the same for other machines, you just might have to fiddle around with the tensions a bit.) The binder's bottom bracket should be inline with the left needle but it should also be slightly to the right of the upper bracket. You can determine accuracy if you use a clear foot as all the needle positions are on that foot. Here the binder is adhered to the extension table using mac tac. I usually use the first two needles from left to right for attaching binding. The settings I use are as follows, 4 for the needles and 3 for the lower looper. The differential feed is set to 1 and the stitch length is set to 3.5 . You might have to turn down the tension of the lower looper when going over seams to 1 or 0 and then turn the tension back to 3. Once you have the machine set up just insert your binding into the attachment and test it first. If you are using jersey knit as a binding it really helps to using spray starch to prevent rolling of the material, as it's notorious for rolling. When your sure that you have the correct tensions, sew up your shirt leaving one side seam (at the shoulder or back) open. Insert the shirt into the attachment between the upper and lower brackets, sandwiching the binding onto the shirt. When completed sew/serge your seam together. Take a small crochet hook and weave the threads through about 1/2" then tie off. Sew up the rest of you shirt. The link below (which is the same pictures as below, just shows you were the bottom bracket is - you will have to scroll over the picture for a highlight. The screws on the attachment are what move the upper and lower brackets. Once you have them set up don't touch them. Happy coverstitching!
Sewchic mama, Can you please share where you bought your industrial binder from and what should I look for?
ReplyDeleteI have the same Janome CPX 1000 and right now I only use it for hemming. I'd love to use it for binding as well.
Thanks!
P.s: I'm amazed at the reno work you are doing!! We are just painting our house (so far lived in apartments where we couldn't paint) and just painting is proving to be a huge undertaking. I'm so impressed with what you have done.
sorry for the late reply (notifications haven't been getting to me) I just got my binder off ebay - sellers name was ngosew
Deletepainting is a pita - it takes forever!