Friday, September 30, 2011

Ottobre Woman 5/2010 #11 Nanette Feminine pea coat (in progress)

Ottobre 5/2010 #11 Nanette feminine peacoat
Here's one of my favourite projects thus far. Don't get me wrong I hated actually sewing it as I wasn't experienced enough to know a lot of the techniques that were in this pattern, but I decided to dive in and give it a try. It's still not totally complete as I still have to add the buttons to the front (but that will have to wait until after ds#3 is born.
And here's the back view of it.

P9290004

Ottobre Woman 5/2011 #4 Everyday Scoop Neck raglan shirt

Ottobre woman 5/2011 #4 Everyday Scoop Neck
Here's one of my latest creations. I do like this top but I really thought that it would have been more tailored or slime fitting. A forewarning though, it's a pretty low cut shirt, so if you want it to be higher you might want to raise the front neckline. I also used jersey knit for the binding instead of ribbing. I'm actually quite please with the result of it. I did make some changes to the pattern though. I left off the pocket and lengthened the sleeves, back and front panels all by 2" so that I could leave off the ribbed cuffs to the hemline and arms, mostly because I didn't have the right colour of the ribbing to match the shirt. This was made using a 34cm size with 1/4" added for seam allowance.

Coverstitching using an Generic Industrial Binder and mac tac

Coverstitching is the two or three rows of stitching at the bottom of hems to knit shirts and pants. It is often seen on the bottom hemline of a t-shirt. Now you may ask why do you need to have a coverstitching machine. Well technically you don't, but it makes life a whole bunch easier when sewing with knits. You can also apply your own pre-cut binding strips in one easy pass through a binder attachment, then sew up the side seam for a quick and easy binding application.

Ottobre 2/2007 #2 3/4 sleeve tshirt coverstitching

So how do I set it up? (this is for a Janome 1000cpx coverstitching machine but am sure the principals are the same for other machines, you just might have to fiddle around with the tensions a bit.) The binder's bottom bracket should be inline with the left needle but it should also be slightly to the right of the upper bracket. You can determine accuracy if you use a clear foot as all the needle positions are on that foot. Here the binder is adhered to the extension table using mac tac. I usually use the first two needles from left to right for attaching binding. The settings I use are as follows, 4 for the needles and 3 for the lower looper. The differential feed is set to 1 and the stitch length is set to 3.5 . You might have to turn down the tension of the lower looper when going over seams to 1 or 0 and then turn the tension back to 3. Once you have the machine set up just insert your binding into the attachment and test it first. If you are using jersey knit as a binding it really helps to using spray starch to prevent rolling of the material, as it's notorious for rolling. When your sure that you have the correct tensions, sew up your shirt leaving one side seam (at the shoulder or back) open. Insert the shirt into the attachment between the upper and lower brackets, sandwiching the binding onto the shirt. When completed sew/serge your seam together. Take a small crochet hook and weave the threads through about 1/2" then tie off. Sew up the rest of you shirt. The link below (which is the same pictures as below, just shows you were the bottom bracket is - you will have to scroll over the picture for a highlight. The screws on the attachment are what move the upper and lower brackets. Once you have them set up don't touch them. Happy coverstitching!

Janome coverpro with generic binder

Sunday, September 25, 2011

Ottobre woman 2/2007 #2 (3/4 sleeve t-shirt)

Ottobre 2/2007 #2 3/4 sleeve tshirt
Here's my newest creation! A new shirt for mama. I traced a 36cm but then decided that it may be to big so didn't add a seam allowance to it. A lot of my clothes are starting to show signs of wear (I so promised myself I would never look frumpy but then again that was before becoming a mom :) ) I love wearing these types of tees under my sweater in winter so I decided to give this pattern a go. It's a really simple pattern. I did however omit the side sleeve slits and apply the neck binding using my coverstitch machine. The binding I am most happy with as this was the first time that I have used the same material as the shirt (this was lightweight cotton interlock) and it turned out so nice. My dh couldn't even tell that I made it :) , which is definitely a complement because dh is very observation to small details. Here's what the closeup of the coverstitching looks like.
Ottobre 2/2007 #2 3/4 sleeve tshirt coverstitching
Anyways, the pattern itself I was hoping to be a little more fitting. As you can tell by the next picture it isn't meant to be a closely fitting top. Since I'm 36weeks pregnant it's difficult right now to tell if I may need to take adjustments. So I compared it to one of my favourite tees from Smart Set (in brown), which is an extra small. Yikes....not all tops are created equal!
Comparison of ottobre 2/2007 #2 to xs shirt

Monday, September 19, 2011

Sewing madness!

Last week (since the kids were born) I had a whole day to myself. I spent it just sewing. It sure was nice to be able to get things accomplished all in one day.

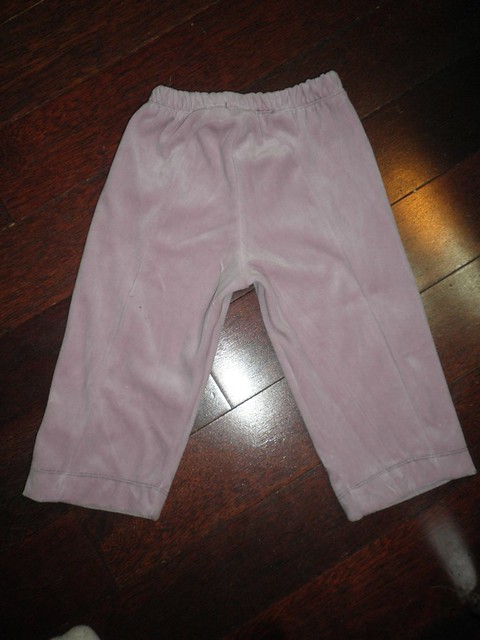
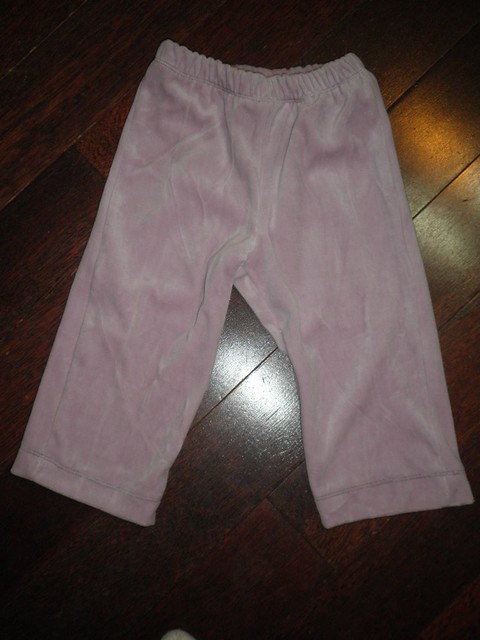
I first started out with ottobre 4/2006 #8 Velour pants for my niece's 2nd birthday. I love the design of these. They have a unique oval shape in the rear, on a traditional pants pattern. I did leave out the leg elastic as I'm not a huge fan of it as well as the topstitching.
Here's the back view of them.

Ottobre 4/2006 #8 Velour pants back view
Here's the front view of them


Ottobre 4/2006 #8 Velour pants front

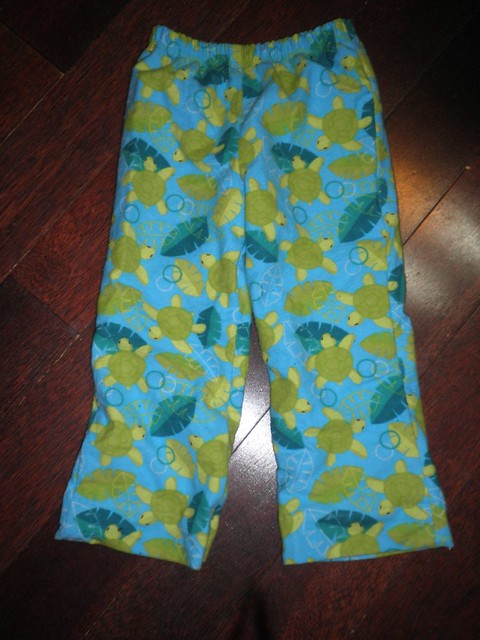
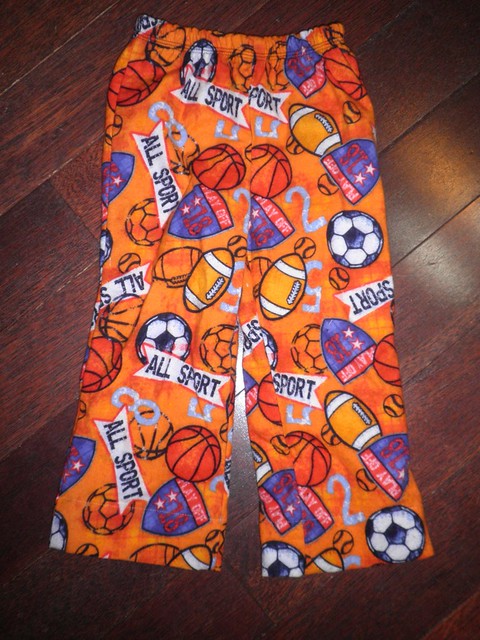
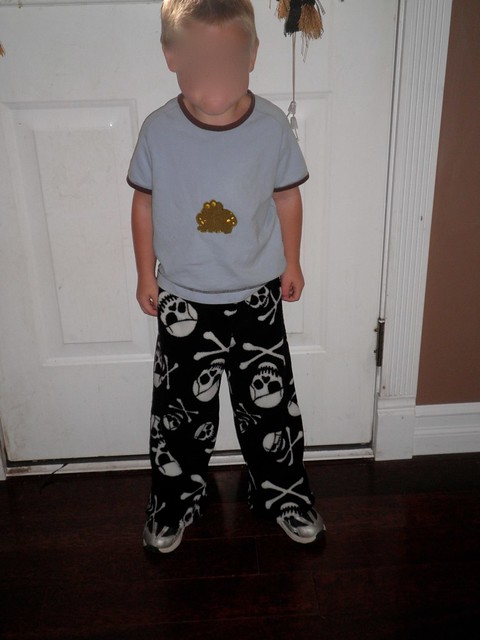
I also got three new pairs of the New Look 6411 done for ds1

New look 6411

New look 6411

New Look 6641 Pants

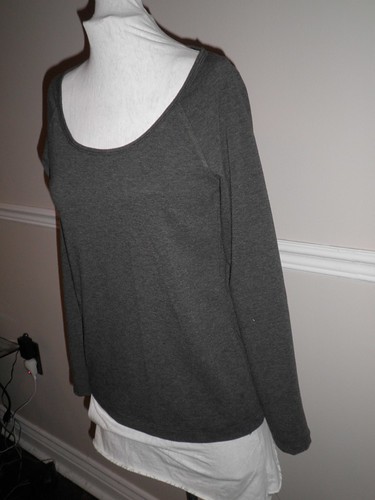
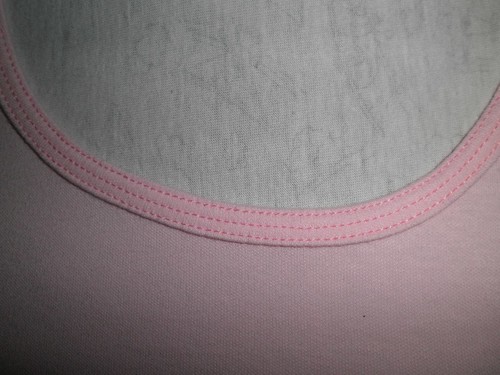
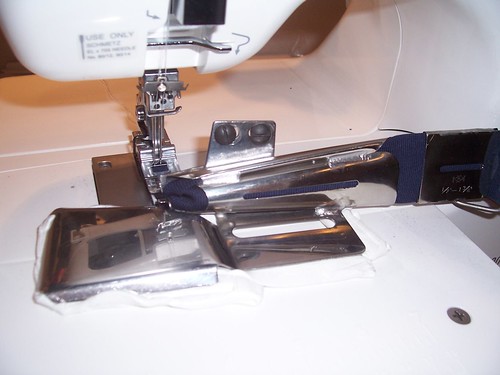
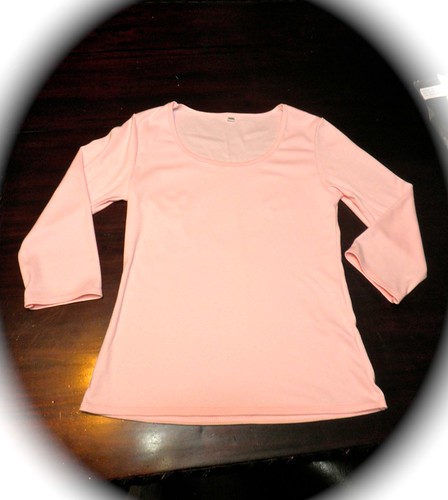
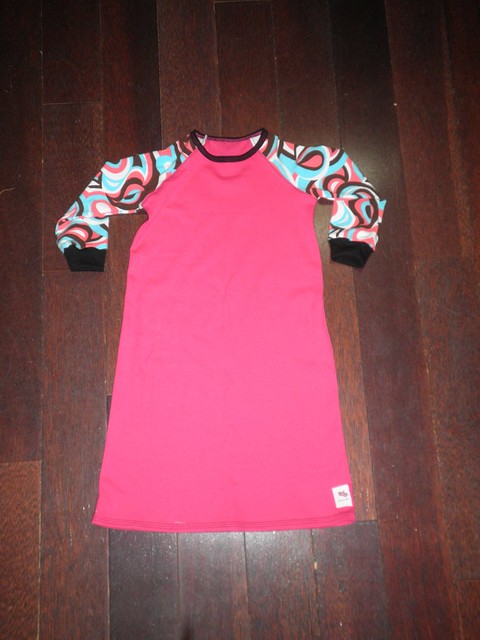
I also sewed up Ottobre's 6/2009 #36 Mocking Bird Nightdress for my niece's Christmas present. It's made out of pink interlock with a scrap of jersey/lycra knit for the sleeves, black ribbing and coverstitch in contrasting pink and black stitching. I love the end result!


Ottobre 6/2009 #36 Mocking bird Nightdress

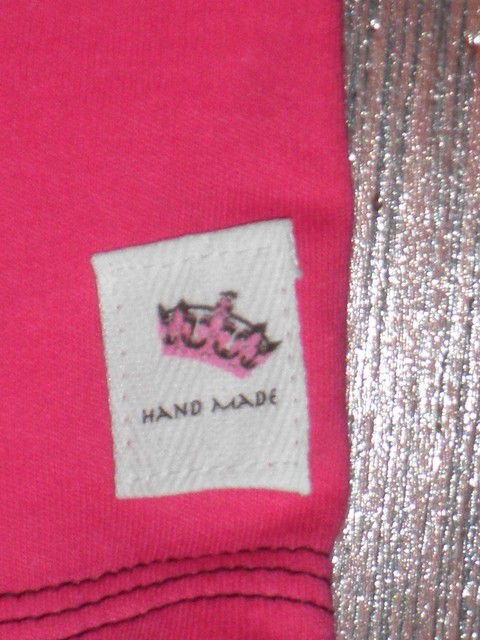
I decided that it didn't need any embroidery or applique to the front of it, so instead added a cute little princess crown handmade label to it.


Handmade label for nieces christmas present

I also made a pair of capris from Ottobre Woman 5/2010 #20 Clara capris. I still have to add the elastic to the waistband and topstitch the waistband done but it is mostly down. I made it out of 100% poly knit terry. It's really comfortable but threads love to stick to it - hum....note to self don't sew with them on!


Ottobre woman #20 Clara capris -unfinished yet

Friday, September 9, 2011

ottobre 6/2007 wrap around and modified overalls

Ottobre 6/2007 Wraparound jacket / modified overalls
Here's ds#3 coming home outfit. What a pita this one was to make. The patterns are great just my own silly mistakes. The binding for the overalls which I initially made (see below) was too difficult to turn the tabs so instead I made the tabs more into a tear-dropped shape then stitched the excess underneath.

Ottobre 6/2007 Overalls for a premature baby
In the end I had to cut off the overall part because of my own eagerness to get snap happy with my new snap press. I didn't re-enforce it properly (despite testing) and was left with gapping holes in the tabs....I know...all that coverstitching...yikes. Lesson learned! In the end I am happy with the results as the overalls (in my opinion) aren't really practical with a newborn anyways. If I were to do the overalls again I would add more of a seam allowance in order to add snaps around the crotch area to make it more accessible for diaper changes.

Thursday, September 1, 2011

New Look 6410

New look 6410 (front view)
I made this for my mother-in-law's birthday this year. It's made out of a plaid twill which was given to me by her), and then a lightweight linen or rayon blend (not exactly sure). This was a learning experience for me as I never have done a lapped zipper before. I did cheat a bit on the waist as I was being lazy and didn't want to hand-sew the interior down for a cleaner finish. My theory is that you can't see it anyways, and also because I didn't want to go through all the trouble if her measurements were off :) {a lesson that I learned from the regency dress that I made for her - apparently by using only 1/4" of the 5/8" seam allowance it makes you a smaller size - LOL.}
Here's the lapped zipper
New look 6410 (lapped zipper)